


Comprehensive Tutorial for Contributing Code to Apache Superset


Apache Superset is a modern, open-source data exploration & data visualization platform that replaces proprietary tools like Tableau, PowerBI, and Looker for many organizations. Like the tools Superset hopes to replace, the code base for the project is intricate and complex. Contributing code to Superset involves understanding most of the of web development lifecycle:
- Version Control: Git
- Collaboration: Github
- Backend: Python 3
- Frontend: React and TypeScript
- Testing: Pre-commit hooks, integration tests, etc
This tutorial is builds on my earlier post, How to Contribute to the Apache Superset Project. While the previous post surveyed the different ways you could contribute, this post provides an end-to-end, technical walkthrough to contributing your first code to the project.
The target audience for this tutorial is aspiring contributors who aren't committers or PMC members. If you don't know what "committer" or "PMC member" means, then you probably aren't one 😉. This post is lengthy, deep, and aims to be a comprehensive tutorial. But the good news is that most people will need to follow these steps only once.
Let's dive in and get started.
Overview of Key Git Repos
The Superset project consists of a few different repos. The following is an overview of what each repo contains and the key sub-folders within them:
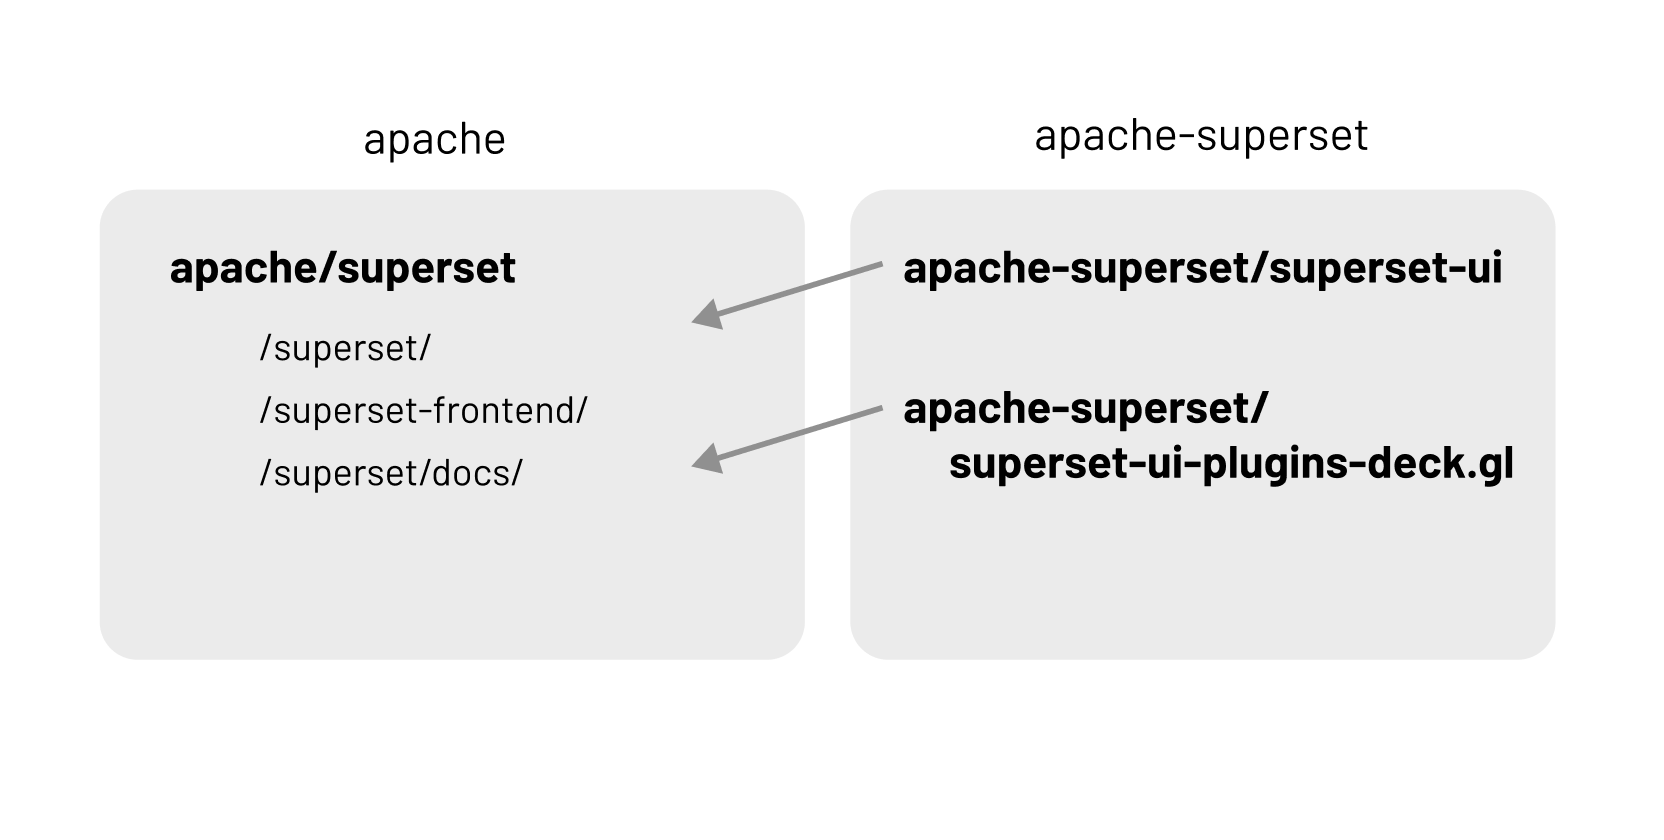
The apache Github organization contains all of the core repos for ALL Apache projects. Here are the two repos for Apache Superset and the key folders:
- apache/superset: core codebase, containing both frontend & backend code.
- superset/superset: contains the backend codebase
- superset/superset-frontend: contains the main TypeScript / JavaScript bundles and react apps
- superset/docs: content, assets, and code for the Apache Superset website. The final built assets for the website live in apache/superset-site but you only need to edit the files in
apache/superset/docsand the changes will be pushed toapache/superset-siteafter merging.
The core contributors to Superset also created a separate organization for a portion of the Superset codebase. These repos live in the apache-superset Github organization:
- apache-superset/superset-ui: contains Superset's core npm packages that are shared across the React apps and viz plugins.
- apache-superset/superset-ui-plugins-deckgl: contains the geospatial visualizations, powered by the deck.gl library
While this looks like a complex picture, the good news is that the community is making progress moving the disparate repos into a monorepo. Over time, this will simplify the develompent experience.
In the Apache flavor of open source, there are three tiers of contributors:
- Contributor: anyone who's generally contributed something to the project (code, documentation, feedback, answered a community question, etc)
- Committer: contributors who are formally invited by the PMC, or project management committee, to be recognized for their continued contribution to the project
- PMC member: member of the project management committee responsible for the direction of the project, nominating & voting on new committers, and voting on Superset Improvement Proposals (or SIPs)
Only Apache Superset committers and project management committee (PMC) members have the necessary Github privileges to:
- create pull requests directly against the
apache/supersetorapache/superset-siterepos - start or restart CI pipelines in Github
- approve pull requests
- merge pull requests into the codebase
To contribute code as an aspiring contributor, you will need to maintain your own fork of the apache/superset codebase to use as a base for making PR's against the main apache/superset repo. Even if you become a committer, there are many benefits to maintaining your own fork and this is still the recommended workflow for people who want to contribute to open source generally!
Maintaining Your Own Fork of Superset
While maintaining a fork may sound daunting, it's pretty straightforward once you set everything up! A git fork starts life as a mirror image of the source git repo (apache/superset). Then, as you make code commits, your fork starts to diverge from the source.
To resolve this temporary divergence, you work on getting your code changes merged into the source repo (which the rest of this post will cover).
A fork that starts to diverge more heavily from the source is also a popular way to make customizations to the Superset code base for your own deployment. Many organizations also fork and mix together multiple open source components to build custom products entirely. This is the power of open source in action!
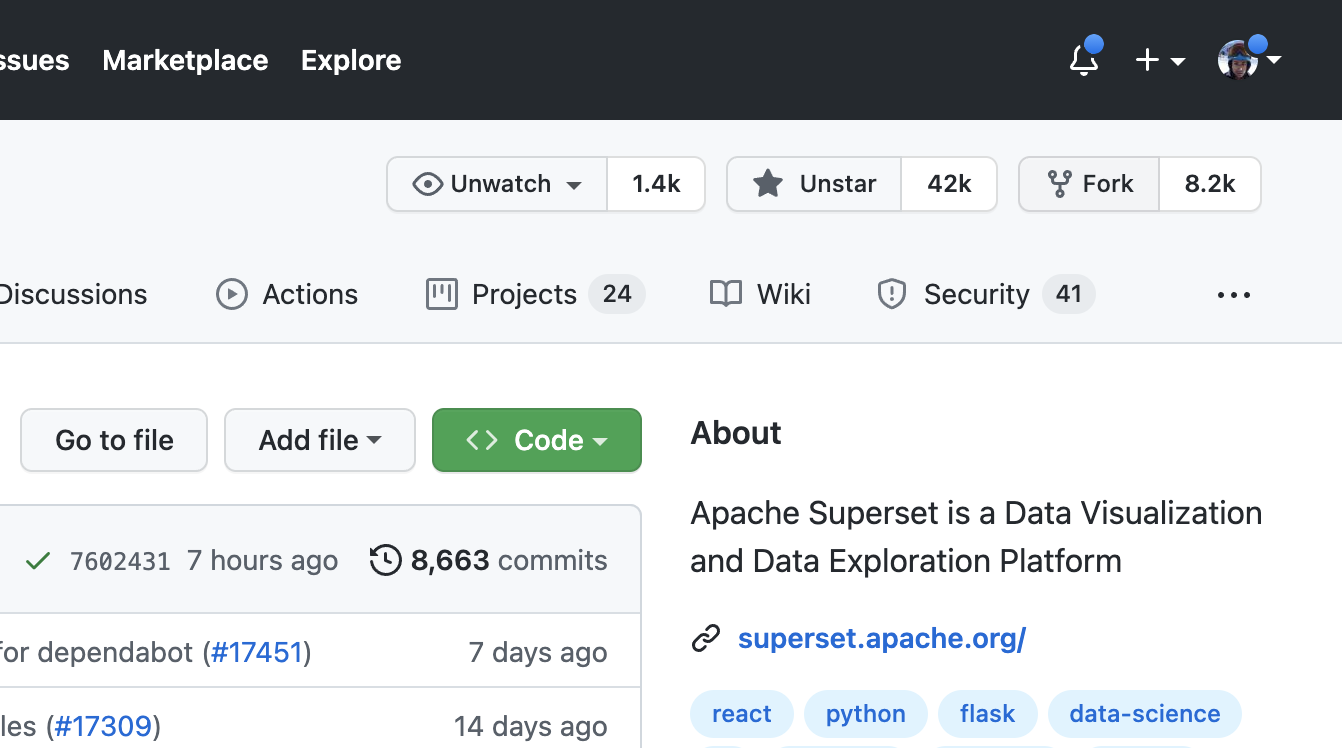
To fork Superset into your own Github namespace, simply navigate to the apache/superset repo and click Fork in the top right corner.
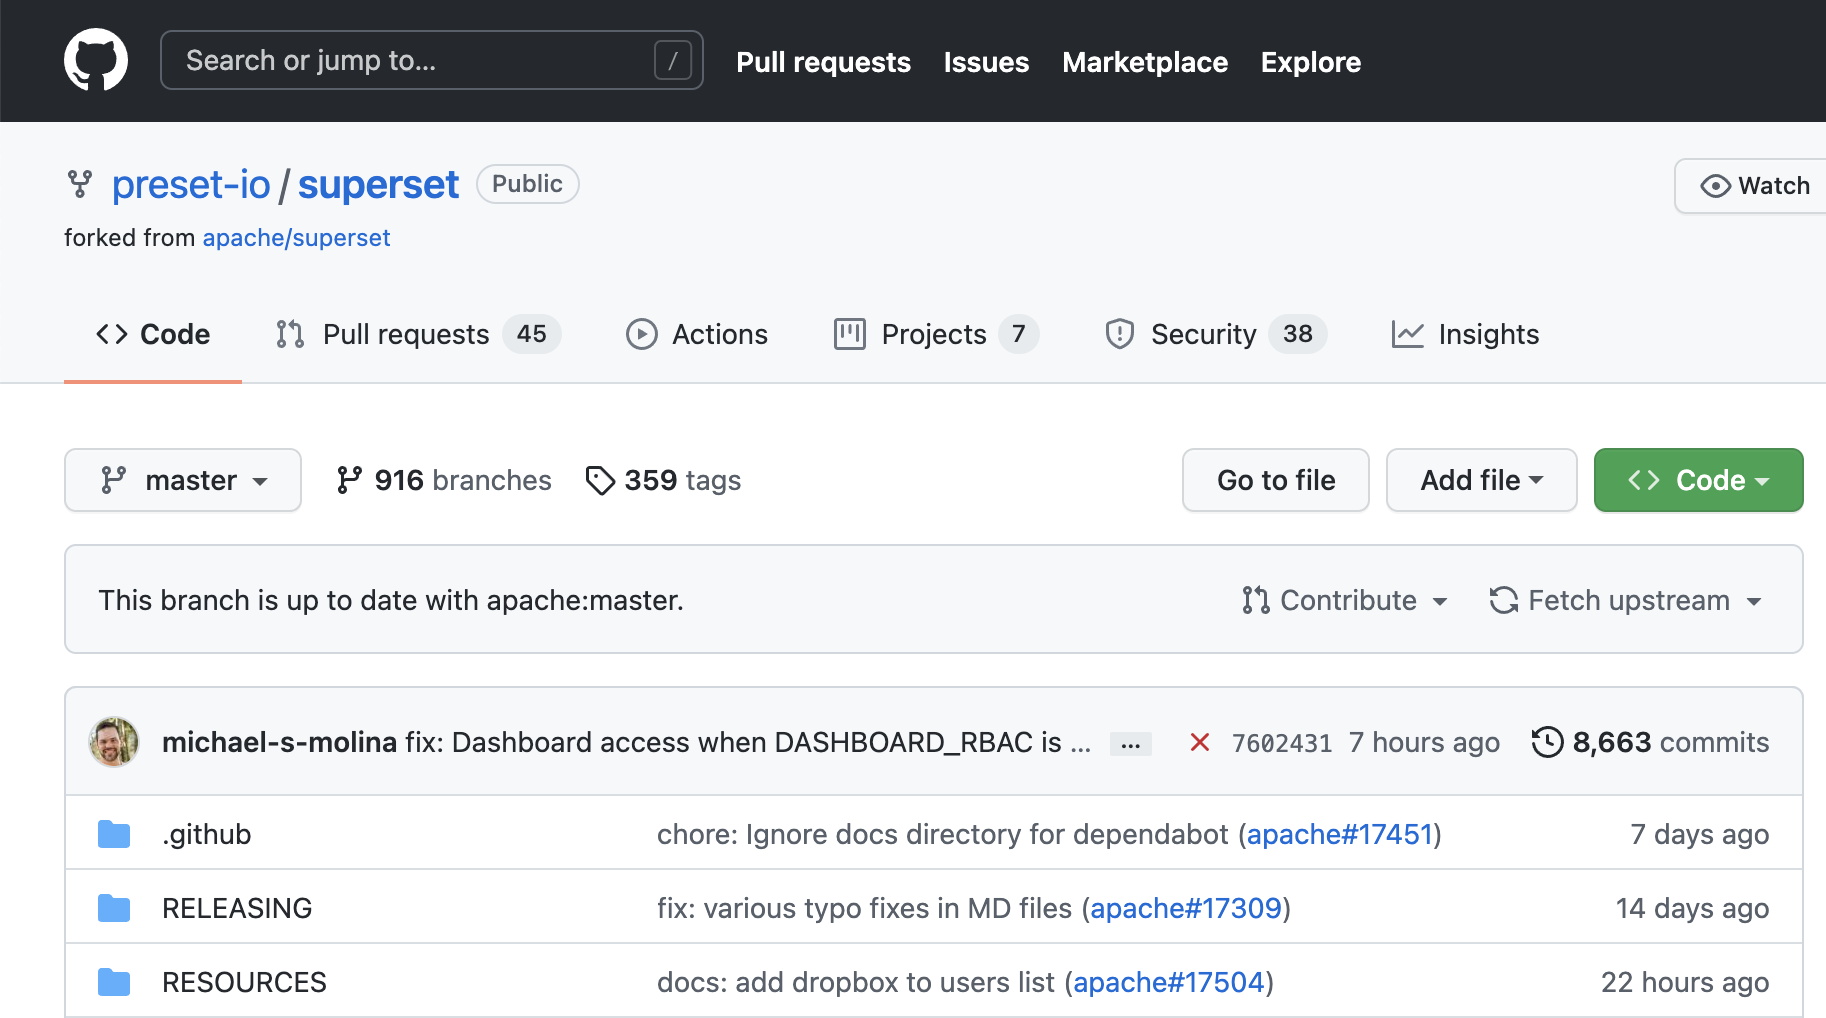
After a few seconds, you will see the mirrored code in https://github.com/{your_username}/superset. Here's our public fork that team members at Preset use:
Setting Up Your Local Development Environment (Frontend)
We highly recommend using MacOS or a Linux flavored operating system for development. While some community members have gotten the Superset codebase working natively in Windows, this compatability isn't explicitly maintained by the core contributors or committers (this includes Windows Subsystem for Linux).
As mentioned earlier, the frontend codebase for Superset is split between:
We'll start by setting up superset-frontend.
- First, you'll need to install Node.js version 16 and npm (node package manager) version 7.
- If you're on MacOS, Changelog Media has a great post on installing both using homebrew.
- If you're on a Linux-based operating system, I recommend the tutorial by the npm team.
To confirm that you have both setup, run the following commands and verify the versions:
node -v
npm -v
A common installation issue is the software being installed but not available in your PATH (e.g. if you see "node not found"). I recommend reloading your PATH by reading in the appropriate profile file.
Optionally, you can install nvm (node version manager) if you'd like to install multiple Node.js versions and be able to easily switch between them as needed.
- Next, navigate your CLI to
superset/superset-frontendand install the JavaScript dependencies:
cd superset-frontend
npm ci
The npm ci command is similar to npm install, and will install all of the packages listed in superset/superset-frontend/packages.json. Once installation finishes, you'll see a new modules/ folder. Thankfully, this folder is git-ignored (remember .gitignore?) and not registered when you create code commits!
- To start the Node server that serves frontend assets to your browser (with sourcemap and hot reloading support), run:
npm run dev-serverBy default, the server runs at localhost:9000 and proxies backend requests to localhost:8088 (which we will setup in the next section). If you'd like to run the frontend server at a different port, you can run:
npm run dev-server -- --devserverPort=9001To edit the code powering the visualizations themselves, you'll need to clone the apache-superset/superset-ui repo and instruct Superset to use the viz packages from that repo (instead of using the published packages from the npm package registry).
Let's start by cloning the repo:
git clone https://github.com/apache-superset/superset-ui.git
cd superset-ui
Then, you need to install the yarn package manager. Here are some up-to-date instructions. Once its installed, run:
yarn
yarn build
Next, let's instruct Superset to use our local viz packages:
cd ../../superset-ui/plugins/[PLUGIN NAME] && npm install --legacy-peer-deps
cd superset/superset-frontend
npm link ../../superset-ui/plugins/[PLUGIN NAME]

# Or to link all core superset-ui and plugin packages:
# npm link ../../superset-ui/{packages,plugins}/*

npm run dev-server
Note that every time you run npm ci in superset/superset-frontend, you will lose the symlink(s) and may have to run npm link again.
Setting Up Your Local Development Environment (Backend)
Install Python 3.7 or 3.8 in your preferred way for your operating system. Here's some helpful documentation from Python.org.
Because you may have multiple Python codebases on your computer, we recommend using a virtual environment that's local and contextualized to the superset/ folder to install all of the Python dependencies.
Create a Python virtual environment and activate it:
python3 -m venv venv
source venv/bin/activate
The first command will create a folder named venv/ in the superset repo.
Any changes to this folder are ignored by git and won't end up on Github when you push. You can view the file superset/.gitignore to see all of the files and folders ignored by git for this codebase. So feel free to delete and rebuild the venv/ folder as you see fit!
- Next, let's install all external Python dependencies for Superset:
pip install -r requirements/testing.txt- Install Superset to enable a development, editable workflow:
pip install -e .- Initialize the metadata database that Superset needs to maintain state of datasets, charts, dashboards, etc.
superset db upgradeBy default, Superset will create a SQLite database in your home directory at ~/.superset/superset.db. If you're curious, you can open the database file using a GUI based tool (or by connecting to it in your programming language of choice) and explore the structure of the data.
- Create an admin user to login to Superset. Superset is built on top of Flask App Builder. Then, initialize the remaining default roles & permissions:
superset fab create-admin
superset init- I recommend loading the example datasets, charts, and dashboards so you can more easily understand how your code changes impacts a somewhat real world Superset environment.
superset load-examples- Start the backend server from within your virtual environment using the following command:
FLASK_ENV=development superset run -p 8088 --with-threads --reload --debuggerFinally, navigate to localhost:8088 to confirm that both the backend and frontend are working! Login with the admin username and password you created earlier (by default it's admin and admin).
Crafting A Git Commit
Before you can make a code commit, you'll need to install a little library called pre-commit. As the name might suggest, this library runs specific code "hooks" before you run git commit. This helps you catch some issues before they make their way to Github and then fail in the CI pipeline there. Pre-commit offers two benefits for open source developers:
- reduces the frequency and cost of continuous integration pipelines that run on Github
- provides a significantly faster feedback loop to people seeking to contribute code
Note that pre-commit is not a replacement for unit tests or integration tests, but instead a lightweight way to catch some easy issues!
With this context out of the way, let's setup pre-commit. You can do this in two different ways. The easiest way is to navigate to the superset/superset folder and run:
make pre-commitThis will run all of the commands listed in this part of the Makefile.
Every time you make a commit, you'll notice that the pre-commit hooks will run for a few seconds and will display any potential violations (e.g. the superset repo can't contain any files larger than 500 kb). You can see a list of the current pre-commit hooks in superset/.pre-commit.config.yaml.
Pushing Code to Github
You're now ready to push code to Github. Because as an aspiring contributor you can't push to the apache/superset repo directly (or the upstream remote), you'll need to instead push to your fork of the superset repo and then open a PR against the apache/superset repo.
To push to your fork, you'll need to push to the origin remote:
git push origin <branchname>If the push was successful, then you should be shown a URL in your CLI that you can navigate to formally open the PR against the origin remote (or the core apache/superset repo you want to get your code into).
All PR's in this repo need to have titles starting with one of the following prefixes:
buildchore:ci:docs:feat:fix:perf:refactor:style:test:other:
If the suggested title doesn't start with one of the above, the continuous integration workflow for the superset repo will fail the PR lint test and your PR won't be merge-able.
To put a finishing bow on your PR and improve the chances of your code being reviewed and accepted, I recommend providing as much context as possible for the reviewer in the description of your PR:
- What problem does this code solve?
- What references or links to related discussions have already happened here?
- Does this fix a specific bug or implement a new feature requested by someone? Link to it / them!
- Whenever possible, show screenshots of before / after
Put yourself in the reviewer's shoes and empathize with them!
PR Review Process
And now you wait! After you've created a PR, a reviewer for your code should be automatically assigned. Successfully getting your PR merged into the superset codebase requires the following steps:
- Resolution of any merge conflicts
- Continuous integration (CI) pipeline of tests and checks need to pass
- Addressing (usually) all of the feedback from a reviewer
- An approving review from a committer or PMC member
Patience is key here! While many committers and PMC members work for commercial entities that are interested in the success of Superset, maintaining an open source Apache project is still very much a distributed, volunteer effort.
If it's been more than 48 hours and nobody has left comments or done a formal PR review, I'd encourage you to post in the contributing channel in the Superset Slack community.
Conclusion
While this covers the main steps that most aspiring contributors need, you may find some specific steps missing depending on the type of code you want to contribute. For example, there are some specific instructions for generating database migrations if you want to change the Superset data model.
To keep upto date on how to contribute to Superset, please refer to the CONTRIBUTING.MD file in the Superset repo.
